WMC TV for your PC
Back in a previous post (add a tuner) we talked about the features available in the TV section of Windows Media Center made possible by the installation of a TV tuner card.
In this article we’ll take you through the whole process, step by step, with plenty of screen shots. The tuner for this report is the WinTV-HVR-NovaT very similar to the model shown below.

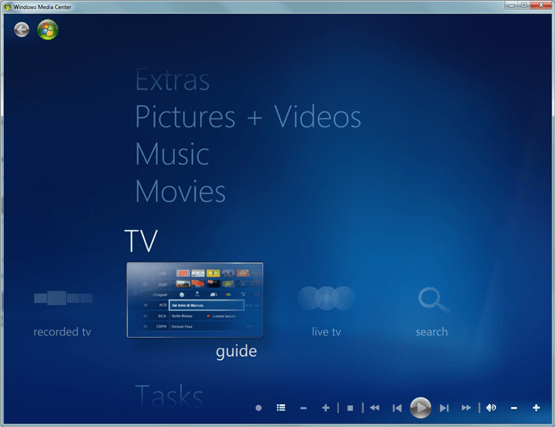
Without a TV Tuner Card your Windows Media Center menu will only give you the option to set it up.

Any tuner will do so my next move was to plug in a fairly simple unit that I had lying around but, sadly my system wasn’t ready for it:

Fortunately, Windows 7 was smart enough to know what it needed:

we went through a download operation that I’m sure you are familiar with; just “save” the file to your “download” folder (if you don’t have one you should make one now and use it for every download: that way, they won’t get lost. Just make sure to clean it out every now and then ).

From your download folder, unpack the zip file and you’ll find the required setup files, one of which should say “setup” or “install” – something ending with a “.exe” suffix . Run that file and with any luck the correct driver will be installed.

Unplug your USB tuner and re-start your PC. Plug the tuner back in after the re-start and your success will be rewarded with the WMC offer to set up live TV.

Let’s get this show on the road
Now that you’ve got a tuner card in place, Windows Media Center will install the “PlayReady” software. We’ll keep this installation simple, but if your card features more than one tuner (internal cards can accept signals from satellite, cable, and antenna sources, as well as an S-Video signal from your SKY decoder), the choices get a bit confusing.

Once the software has been installed in your system you have to agree to its “terms and conditions” — the ever-popular “EULA” (End-User License Agreement).

Next it will ask you about your region ( this is one of the few times WMC will remember your answer).
Interestingly, you can tell this setup program that you live anywhere and it will attempt to collect the electronic programming data for that area. One late night session I told the system that I lived in the US.

and entered “90210” as my post code. The wealth of TV shows and program information was astounding. You can’t view the shows, of course, but just viewing the EPG was impressive enough.
Then you get another agreement to sign up for — this one to use the Program Guide. In truth there is a limited amount of information that comes through with the New Zealand TV signal, covering only a short period (one or two days if I recall) and not all the channels are included.

And I don’t think that the little information we do get comes from Microsoft – as they state (below) there is no guide in New Zealand.

Having given WMC the information it required, and agreed to all of its Ts and Cs the system is now ready to collect the data. Our USB tuner only supports one feed – DVB-T (Digital Video Broadcasting – Terrestrial) and this makes our choice simple. Had additional tuners been available on our hardware, we would have been asked which one to set up.

In the same way that you have probably watched your TV scan for new channels when you first set it up, the Windows Media Center system goes to work collecting signals from the ether. Plenty of time to grab a snack. Periodic reports provide updates on the progress.

All finished and the program captured 18 channels here in Auckland (or are there more? hint, hint)

With the process completed, the “offer to setup” icon is now replaced with the genuine item.

and we’ve even got a program guide of sorts.
Clicking on “Live TV” for the first time will pop up an offer to put a “gadget” on your screen that tells you what programs you’ve recorded on your hard drive.

we have only one previously recorded item on disk (the one that comes with the package) – but it also includes a link to the “Recorded TV” page where you can view all the available previously recorded material on your system.

Then, at last our first live TV feed! Not much to choose from on Saturday afternoon in New Zealand, but it’s not really about the shows anyway. It’s about getting some cool technology to work!

Windows Media Center provides a number of snappy features in it’s “Live TV” package. Software that allows you to search for programs, sort programs by type, record live TV, set up a schedule to record future broadcasts and much more.

For our next installment we’ll take a look at a new program that puts the “E” in Electronic Program Guide.
About Deck Hazen
A computer user since 1976, Deck enjoys testing new software and reconfiguring his equipment to squeeze the most out of it. "Computing has come a long way since those early days" Deck recalls "I get a real kick out of watching the industry grow - getting paid to write about it is just icing on the cake!"
- Web
- |
- More Posts (20)
Great tut. Very helpful
Well laid out tutorial. I’m an IT professional myself but I found it useful to refer my teenage son to this as a means of sorting this issue out for himself.